In this activity, you will learn how to connect 7 segment display to the breadboard.
Component Required:
Breadboard
Battery
Connecting Wires
Seven Segment Display
Resistor- 1k Ohm
Let’s start!
Open Tinkercad and click ‘Create new circuit’.
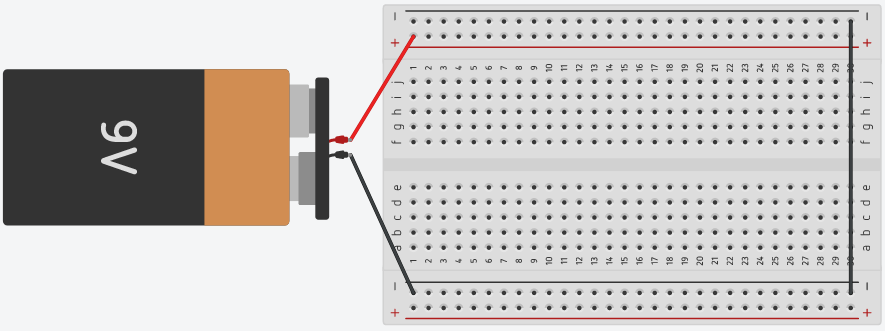
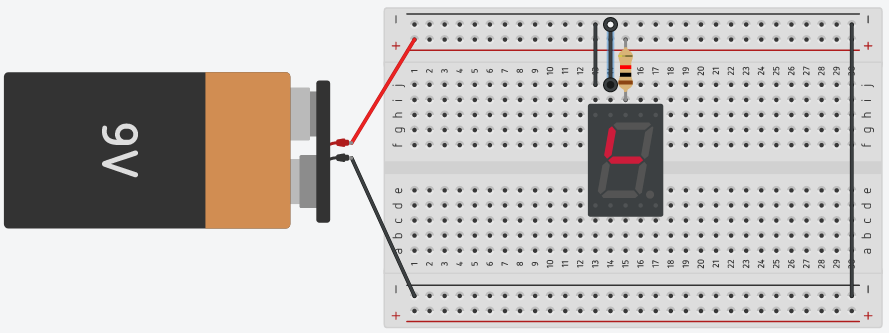
Step 1: Take out a breadboard and connect the battery as shown.
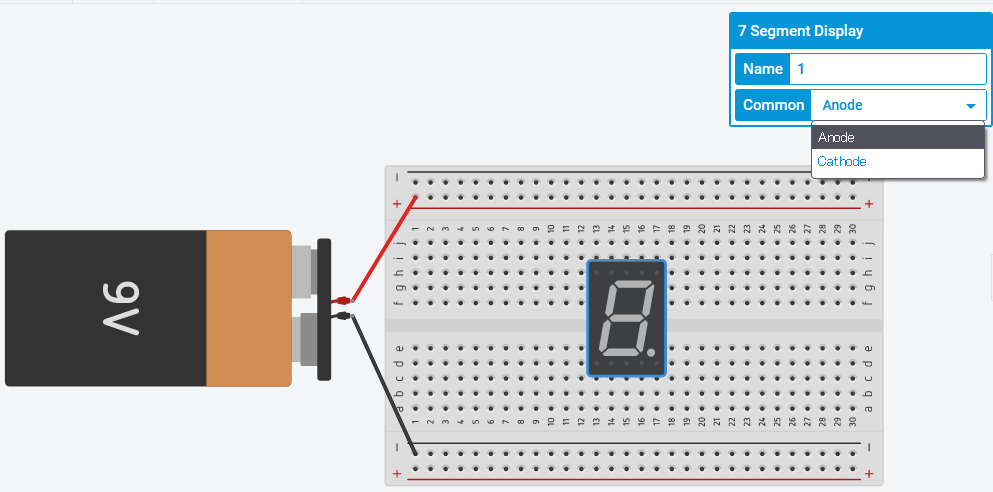
Step 2: Search for 7 segment display from the components and place it on the breadboard.
You can change component as anode or cathode.
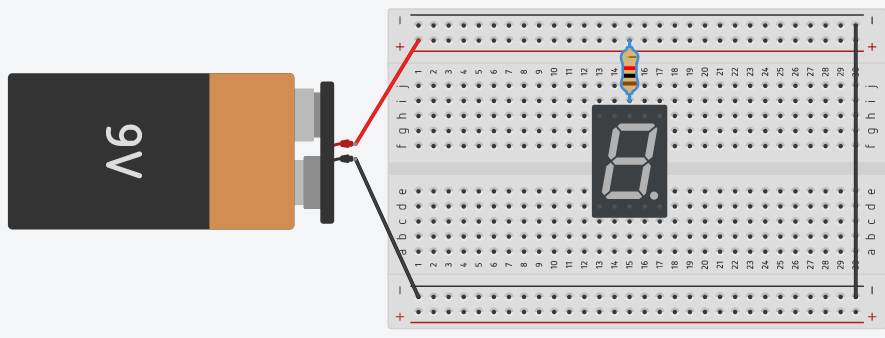
Step 3: Now, take out a resistor and place it on the common terminal of display and other end to the positive rail of the breadboard, as here we selected common anode.
Step 4:Now connect first terminal with the ground rail of the breadboard. Click on ‘Start Simulation’.
As you can see one LED will start glowing.
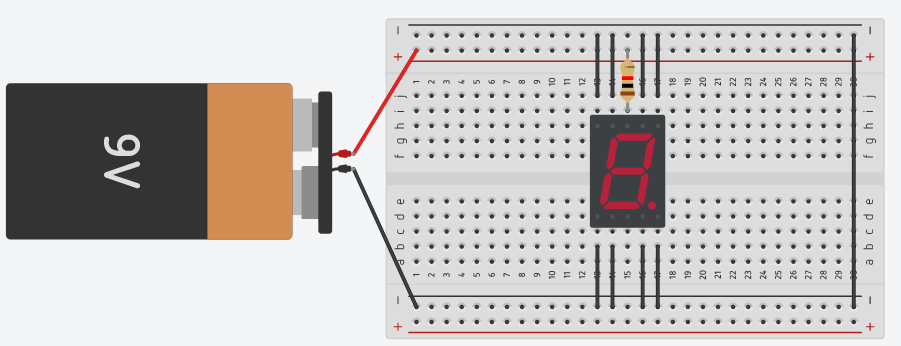
Step 5: Click on ‘ Stop simulation’. Connect second terminal of he display to the ground rail.
When you click on ‘ Start simulation’, you can see the other LED will start glowing.
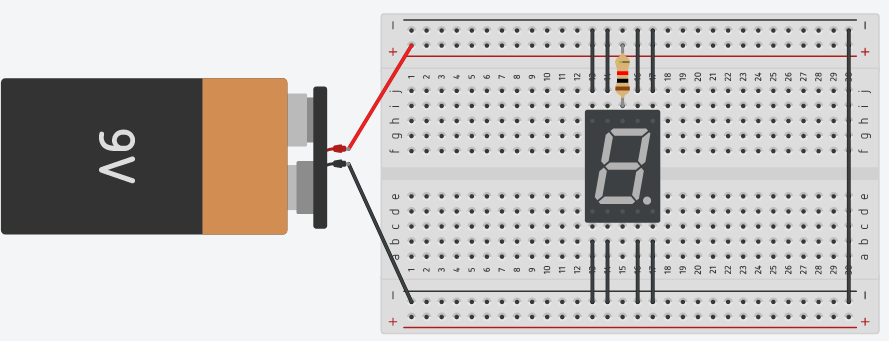
Step 6: Click on ‘Stop simulation’. Now connect all the terminals to the ground rail.
Step 7: Click on ‘Start Simulation’. You can see all LEDs will start glowing.
To see every numeral from 1-8 connect the particular LEDs one by one to the ground rail.