In this module, we will interface temperature sensor with Arduino Uno. We will calculate the temperature in Celsius and Fahrenheit and then the led’s will glow if the temperature is greater than the threshold temperature.
Let’ learn to interface Temperature Sensor with Arduino Uno.
1. Open the default screen of tinkercad circuit designing.
2. Now, search for Arduino Uno in the search bar and then drag and drop it in the “designing area”.
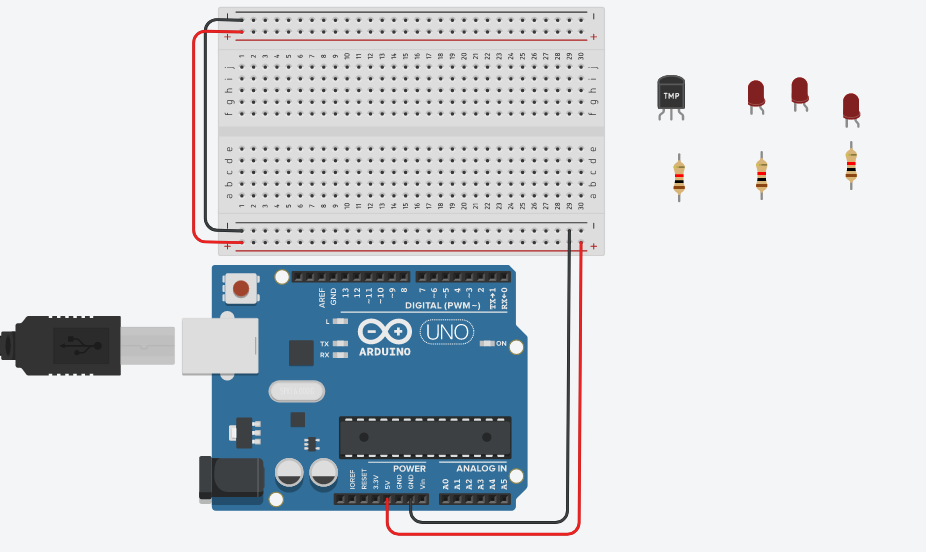
3. After this, Drag and Drop all the required components in the “designing area”.
Components Required:
Arduino UNO
LED* 3
1 kilo-ohm Resistors * 3
Breadboard
Temperature sensor
Also, connect +5V of Arduino Uno with positive rail of breadboard and GND to negative rail of breadboard.
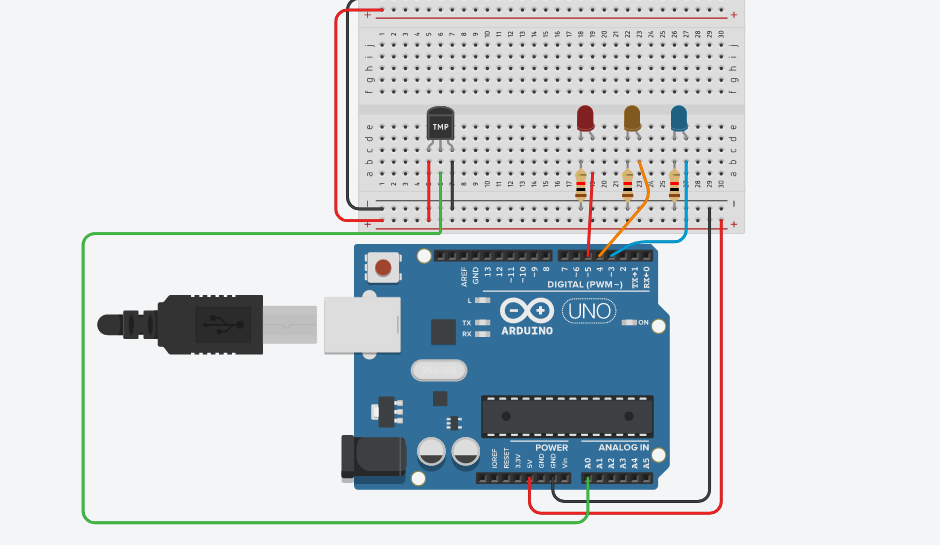
4. Now, drag and drop three Led’s in the designing area and you can change the color of the Led’s by clicking on the Led, the inspector will appear and you can easily select the color in it.
5. Use a 1 k Ohm resistor to connect each LED’s cathode to the ground rail of the breadboard. In Tinkercad Circutis, you can change a resistor’s value by selecting it and using the dropdown arrow in the inspector.
6. Connect each LED anodes ( longer legs) to digital pins 3, 4, and 5 on the Arduino.
7. Search for temperature sensor in the search bar and then place it on the breadboard.
Now, connect the power pin of temperature sensor to +5v of Arduino using breadboard