As for now, you have learned about electronic circuit basics. It’s time to build your own circuit on a breadboard with the help of Tinkercad software.
Let’s start.
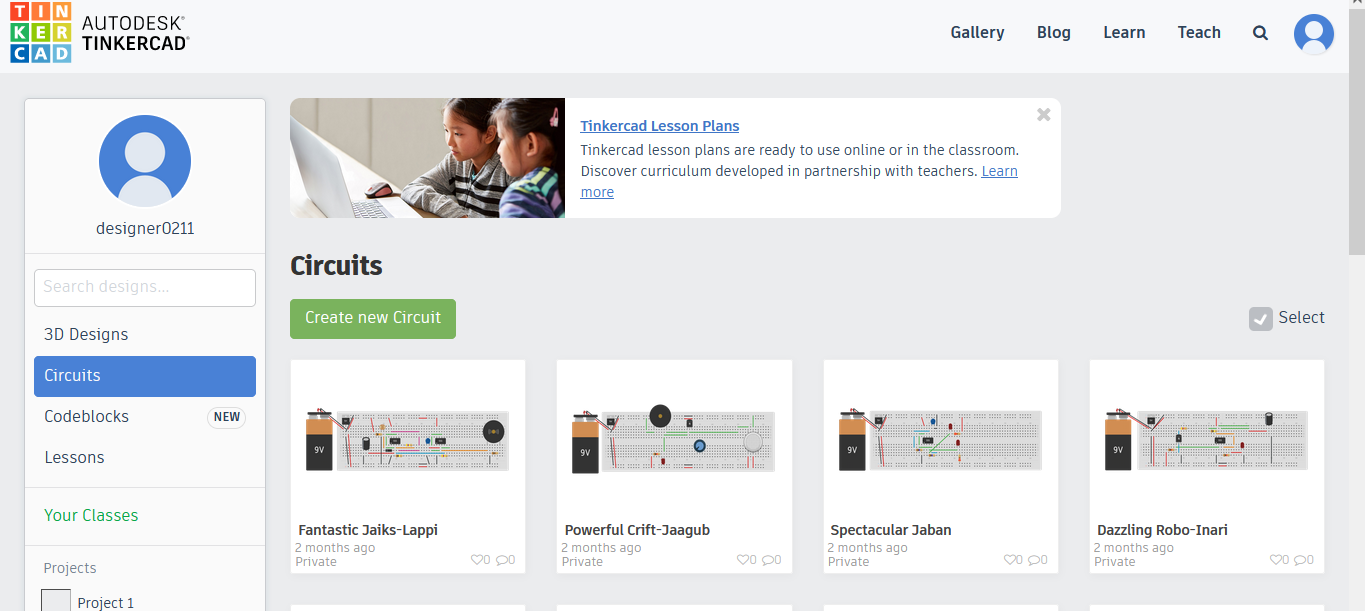
Step 1: Open your Tinkercad account and select ‘create new circuit’.
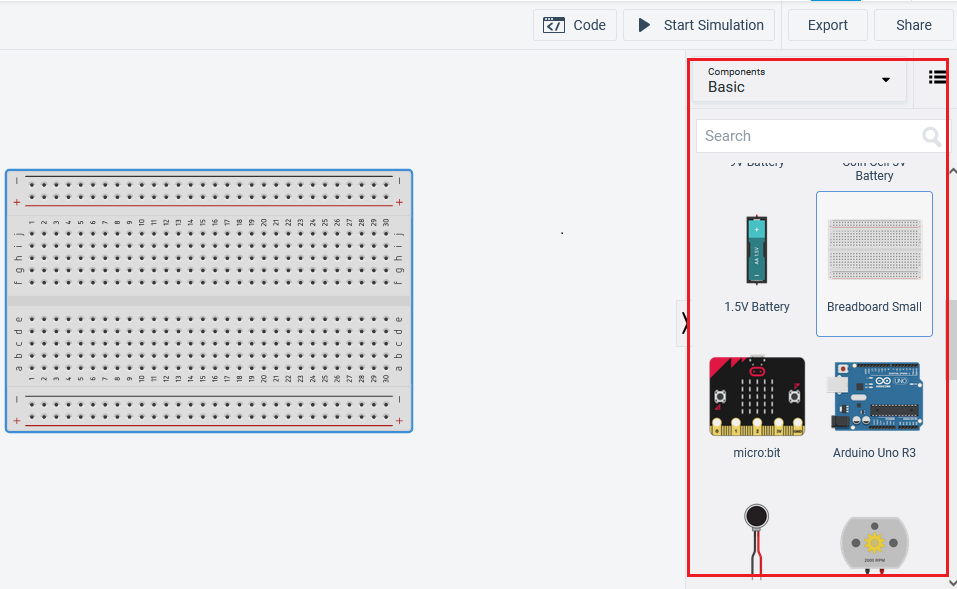
Step 2: A new work-page will open. Go to the right- hand side of the page to the components and search for breadboard(you can select any size). Place it on the work-area.
Step 3: Similarly, search for resistor and place it on the breadboard.
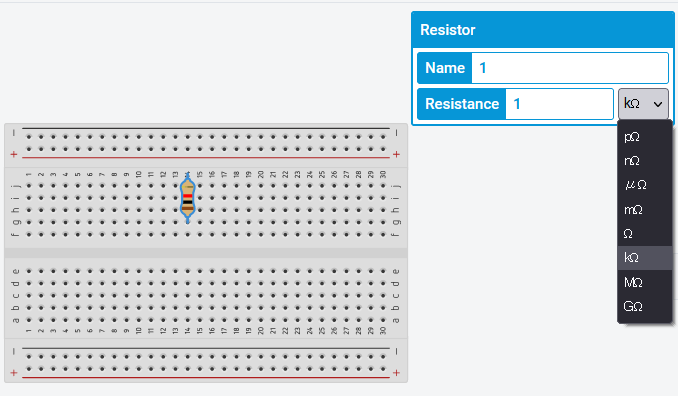
Here, an inspector window will open where you can change the value of resistor.
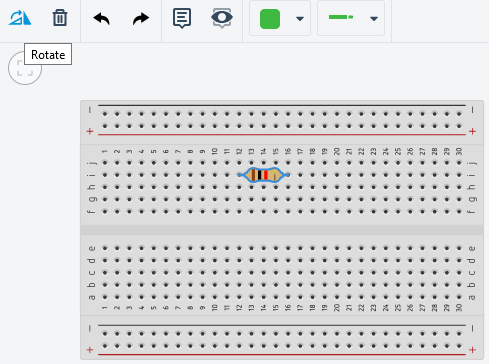
Step 4: For convenience you can rotate your component using rotate option or by pressing ‘R’ key.
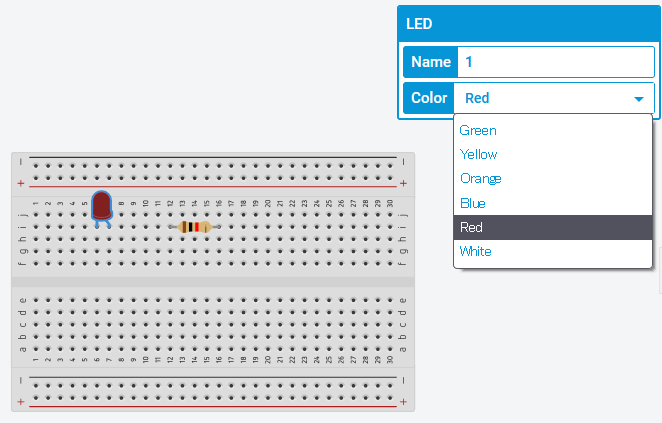
Step 5: Similarly, you can place LED and change the color according to your need.
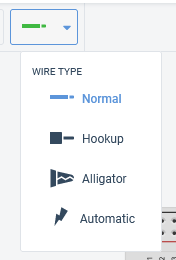
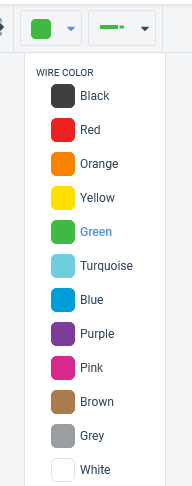
Step 6: Lastly, you require wire to connect the components together. For that, see the left- hand side tool bar. Select the type of wire and color of wire.
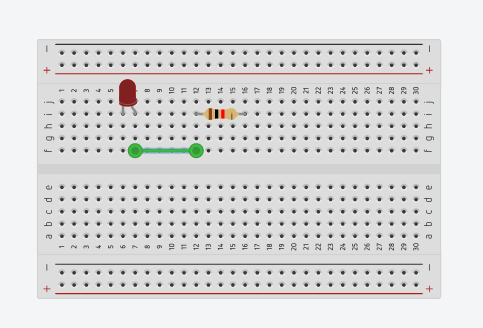
Step 7: To connect, simply click on one hole of breadboard and drag your mouse to the other hole. The wire gets connected as shown.
This is how you can connect any component to the breadboard.
Login
Accessing this course requires a login. Please enter your credentials below!