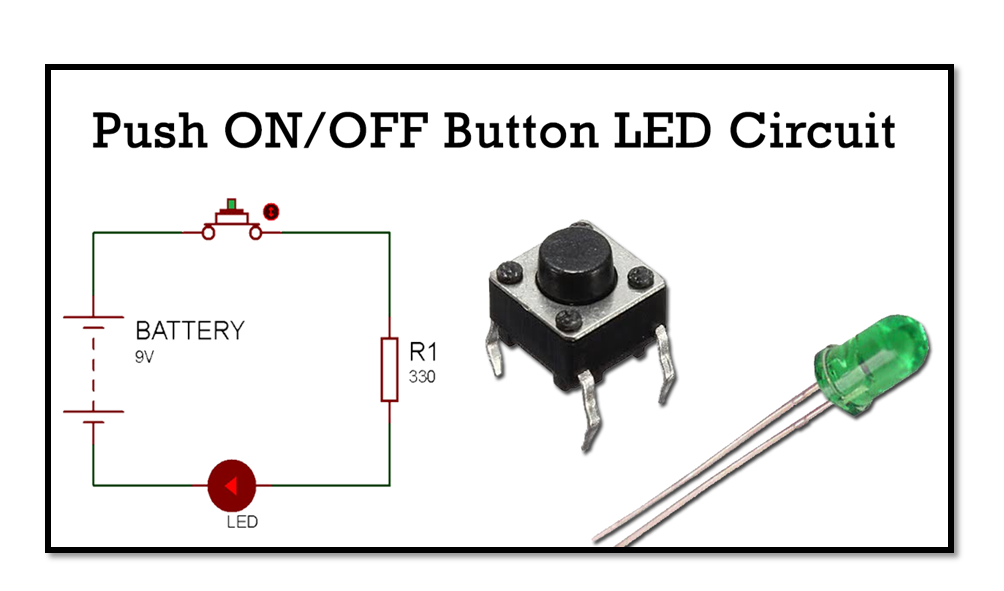
We will be using Tinkercad software for making a Led on/off circuit with Push button.
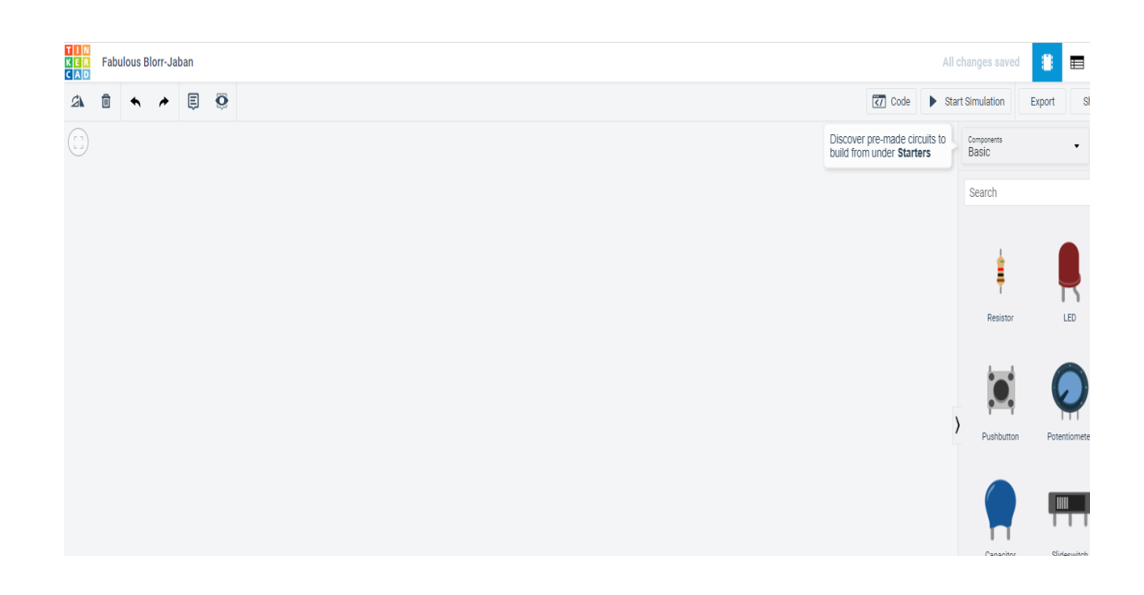
1. Open the default screen of Tinkercad circuit designing.
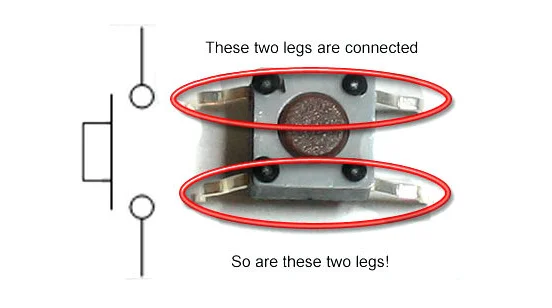
Note : As you can see the push button have 4 legs or terminal but you need to connect only two diagonal terminals because as you can see in the below pin configuration of push button 1-2 & 3-4 are internally connected or common.
2. Drag and Drop Switch, LED and a resistor in the designing area.
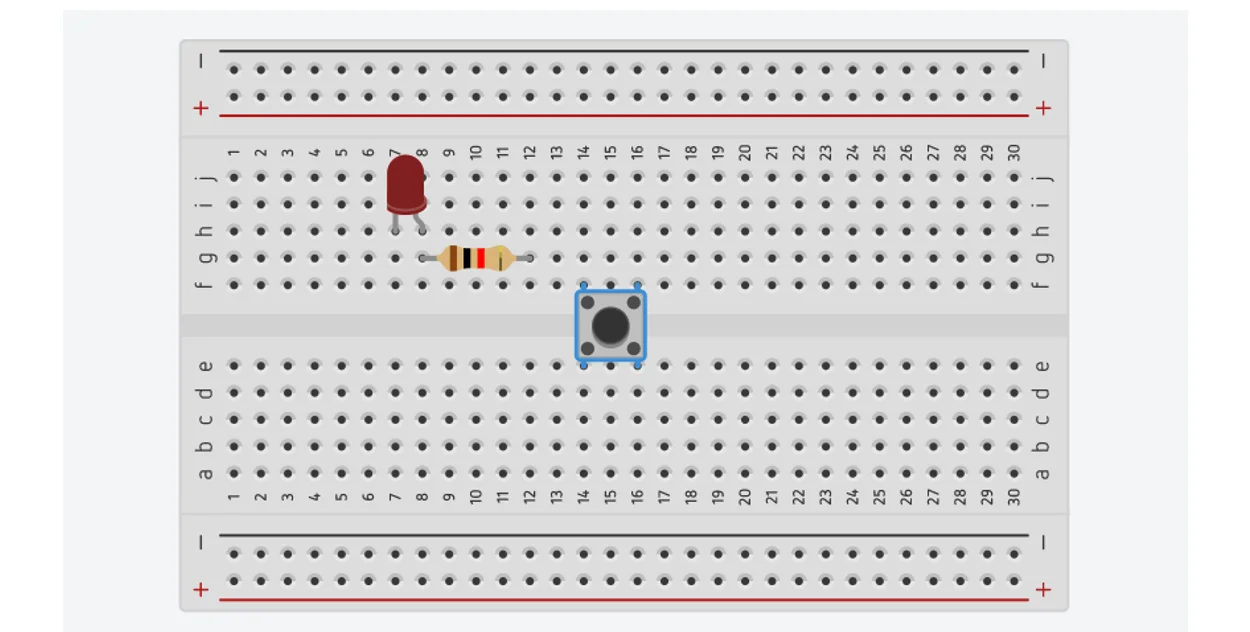
3. Now, Place Led , resistor and switch on the breadboard as shown below:
4. As you can see one terminal of resistor is connected to the positive leg of led through breadboard. So, Now connect negative leg of led to negative rail of breadboard and second terminal of resistor to any of the terminal of switch
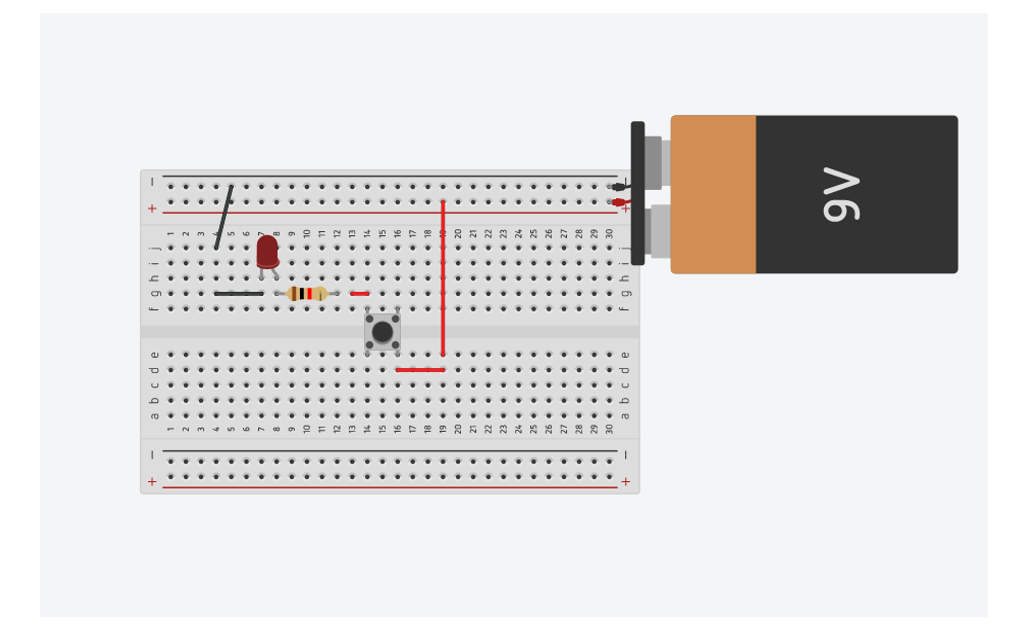
5.Now, connect the diagonal terminal of the switch to positive rail of breadboard. And then attach battery with the breadboard as shown below:
At the end test your circuit by clicking on the start simulation button and then use the push button to on & off the LED.
Note: To save your circuit click on the tinkercad icon on the top left side as discussed in the previous chapters.