Activity

Now, Arun and Raj understand about each block what they do. But Raj does not know how to use them in the project. So, they decided to see how each block work.
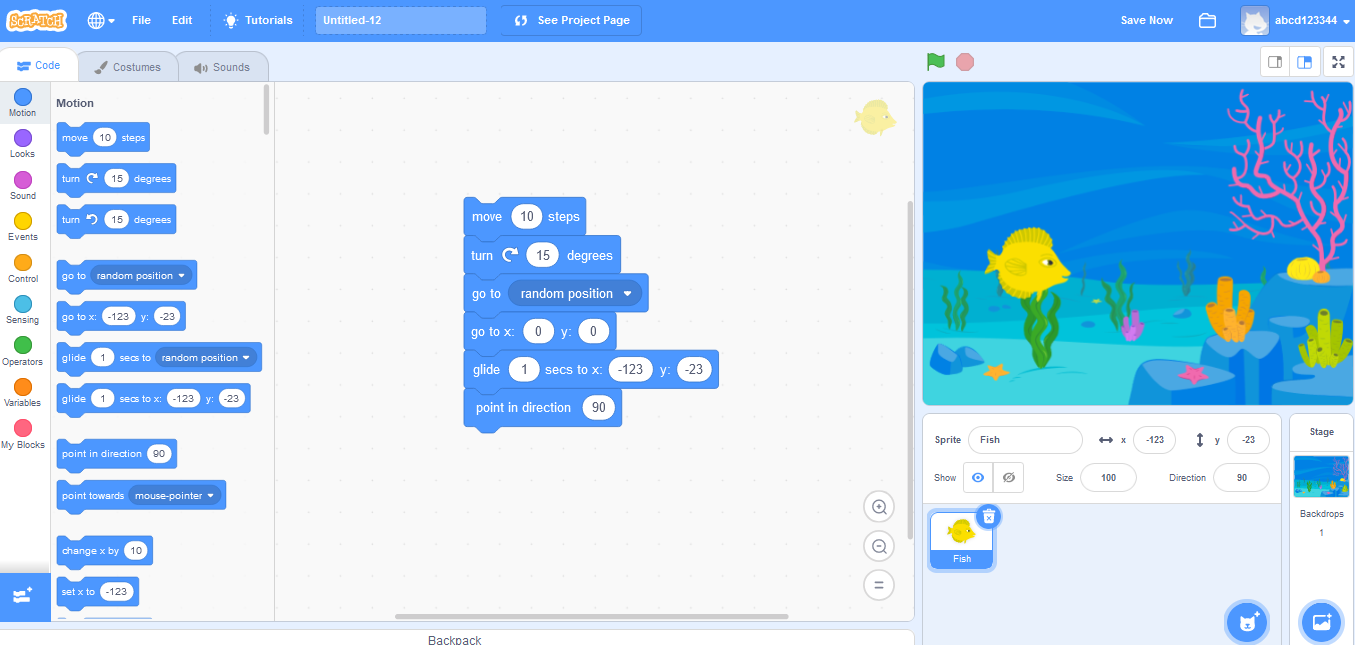
For this activity, they select an underwater backdrop from backdrop lists and Fish from Sprite lists.
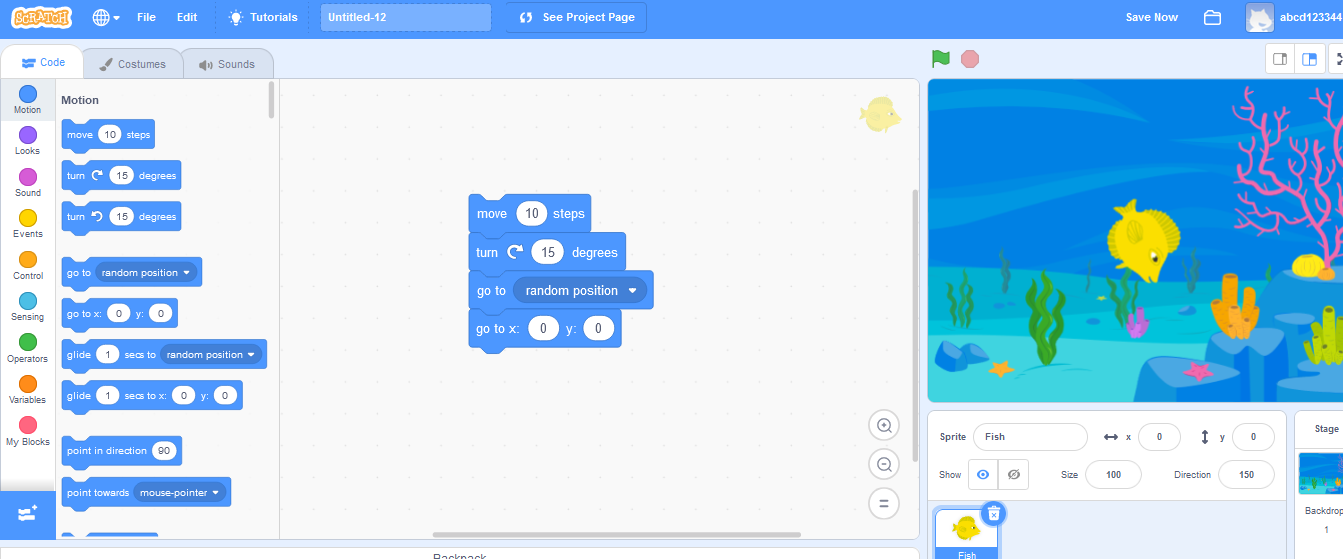
Arun pick  block from the motion menu drop it to the scripting area.
Raj- Yes! You are right. Let’s see what next block does.
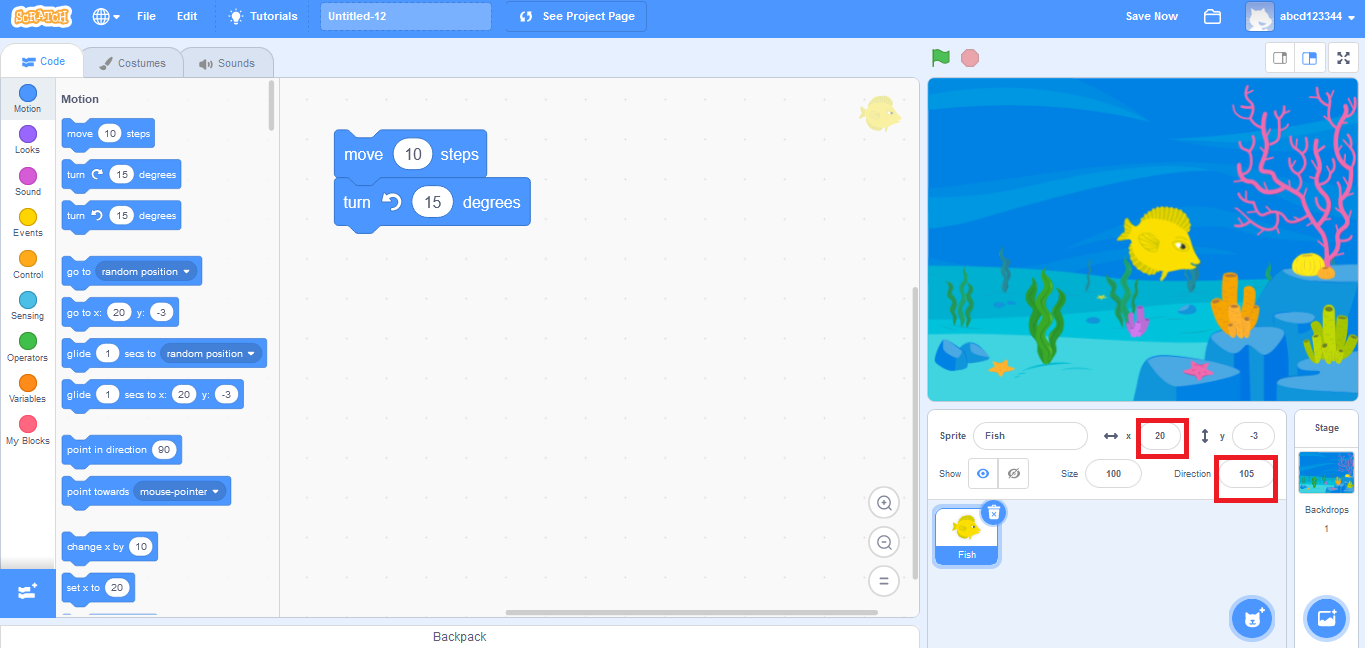
Arun- Drag ![]() block and snap this block beneath previous block.
block and snap this block beneath previous block.


Raj- Arun see the fish moved 10 steps more with 15° change in direction i.e., this will help the sprite to move clockwise.
Arun- Yes you are right.
Similarly, when you use ![]() block under the move block.
block under the move block.
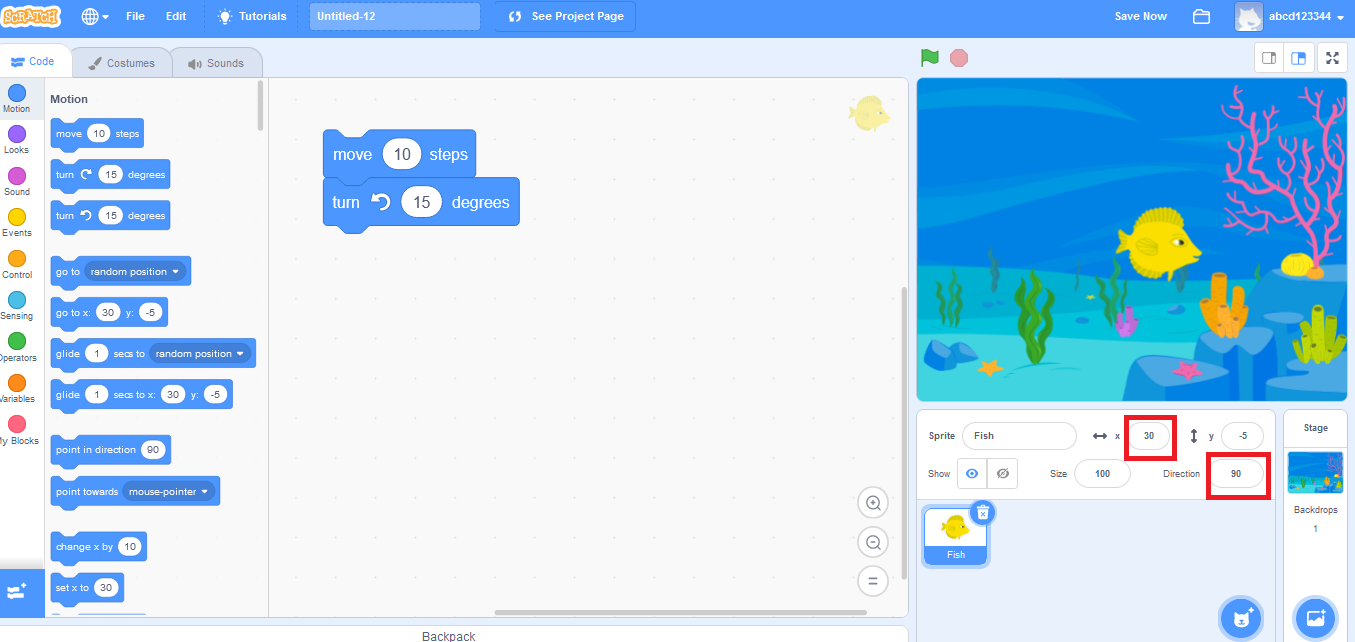
As you can see, the direction changes to 90° also with some increment in steps i.e. this block moves the fish in anti-clockwise direction.
Raj- This is very interesting. By this our fish can move in any direction.
Arun- Yes! Let’s move forward.
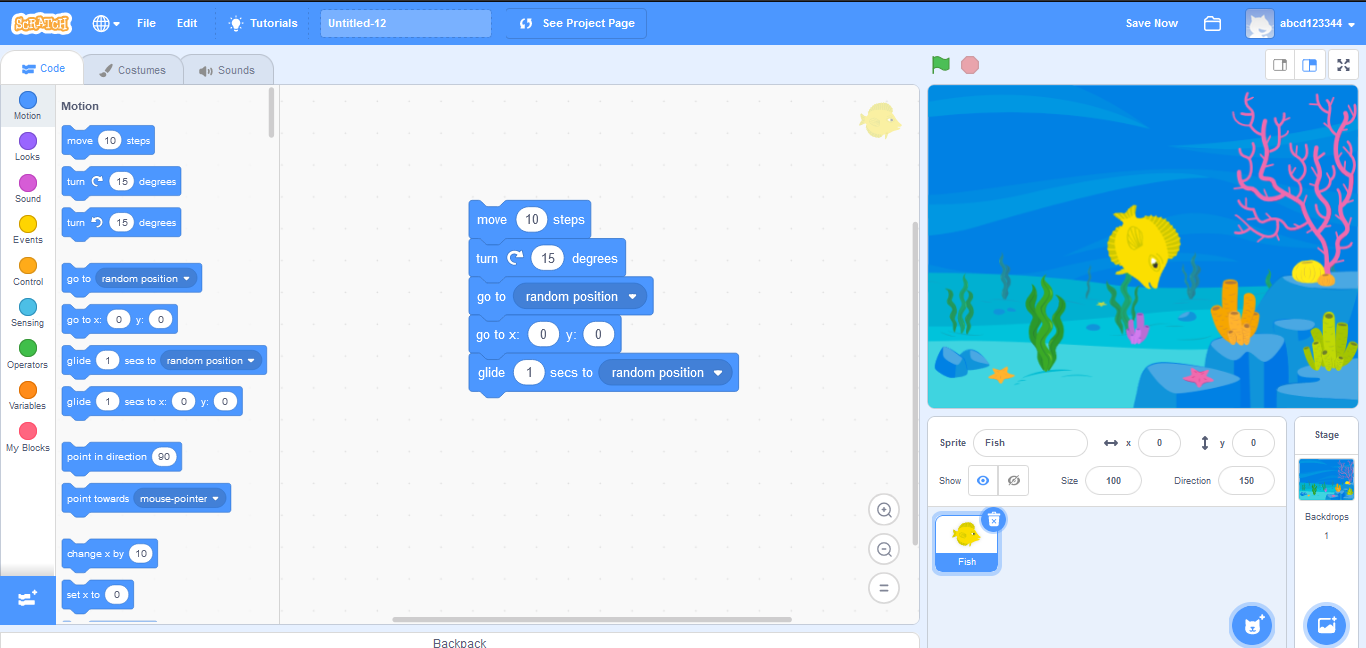
Now pick ![]() block and place it under the previous code.
block and place it under the previous code.
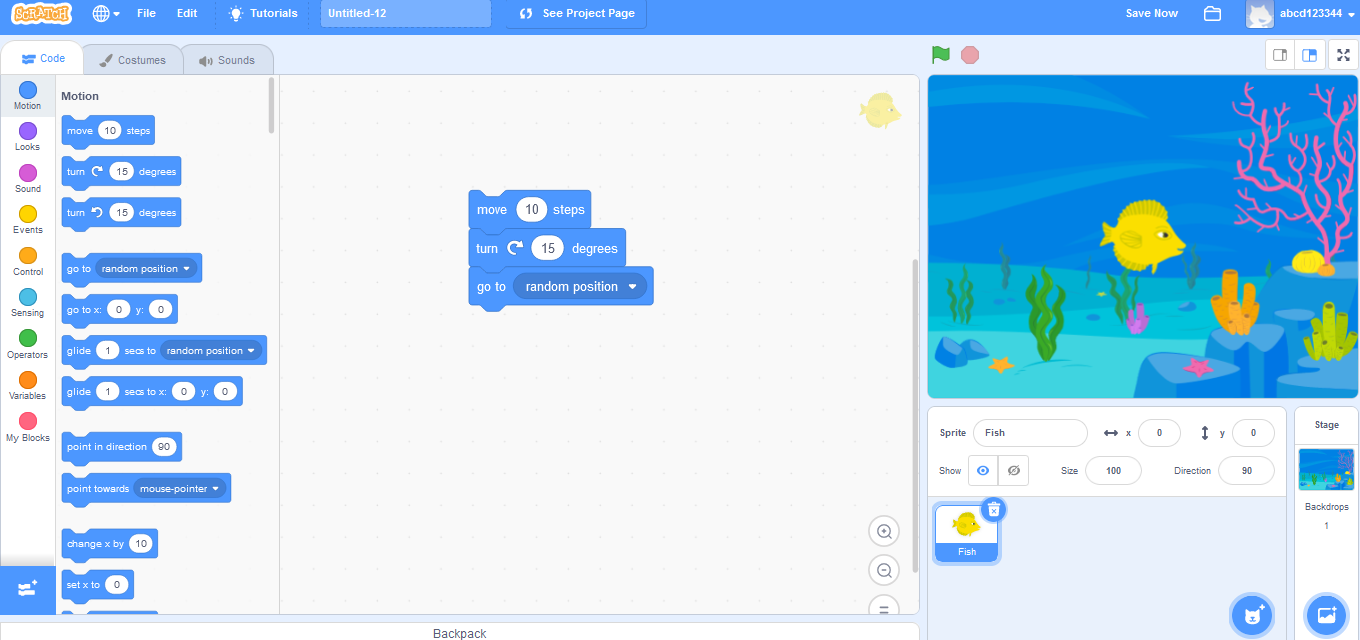
Raj- Great! Arun what is the use of ![]() block?
block?
Arun- Let’s drag it out and place it under our code.
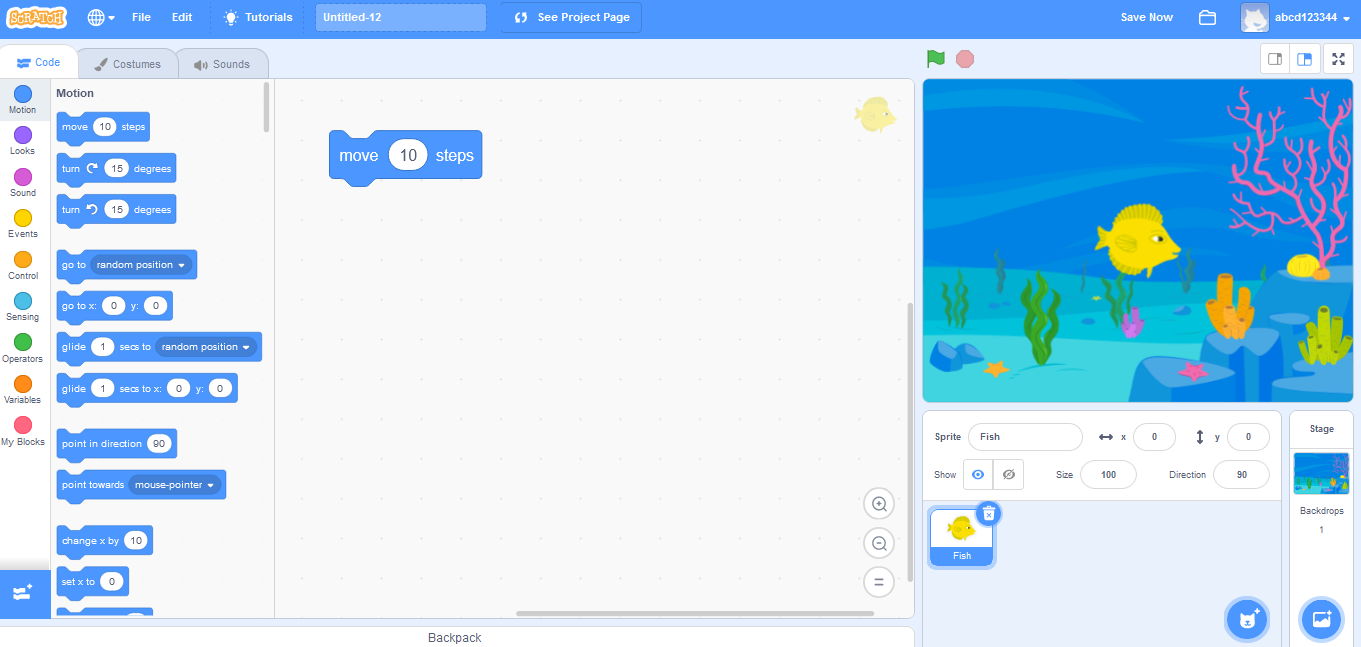
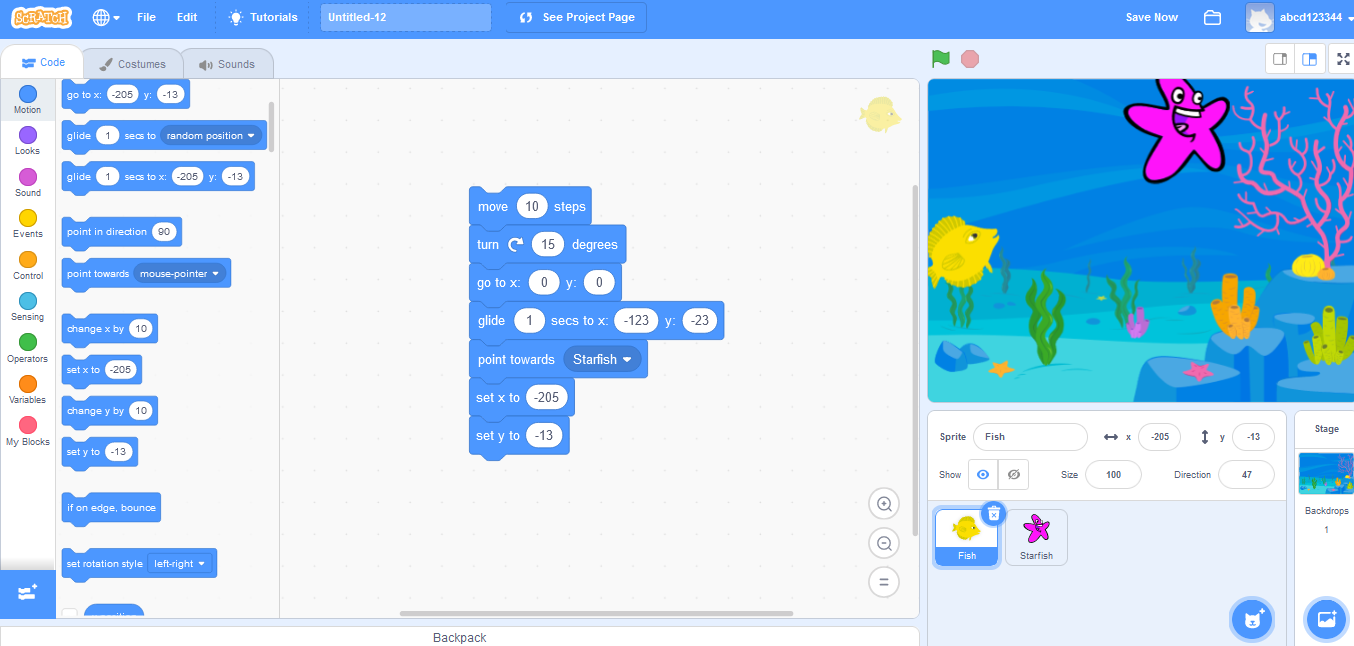
Raj- Oh! This block moved the fish at the centre of the stage.
Arun- You can move your fish to any position by changing the values of X and Y coordinates.
Raj- I am very excited to see what next block will do.
Arun- Next is ![]() block. Let’s place it under the script.
block. Let’s place it under the script.
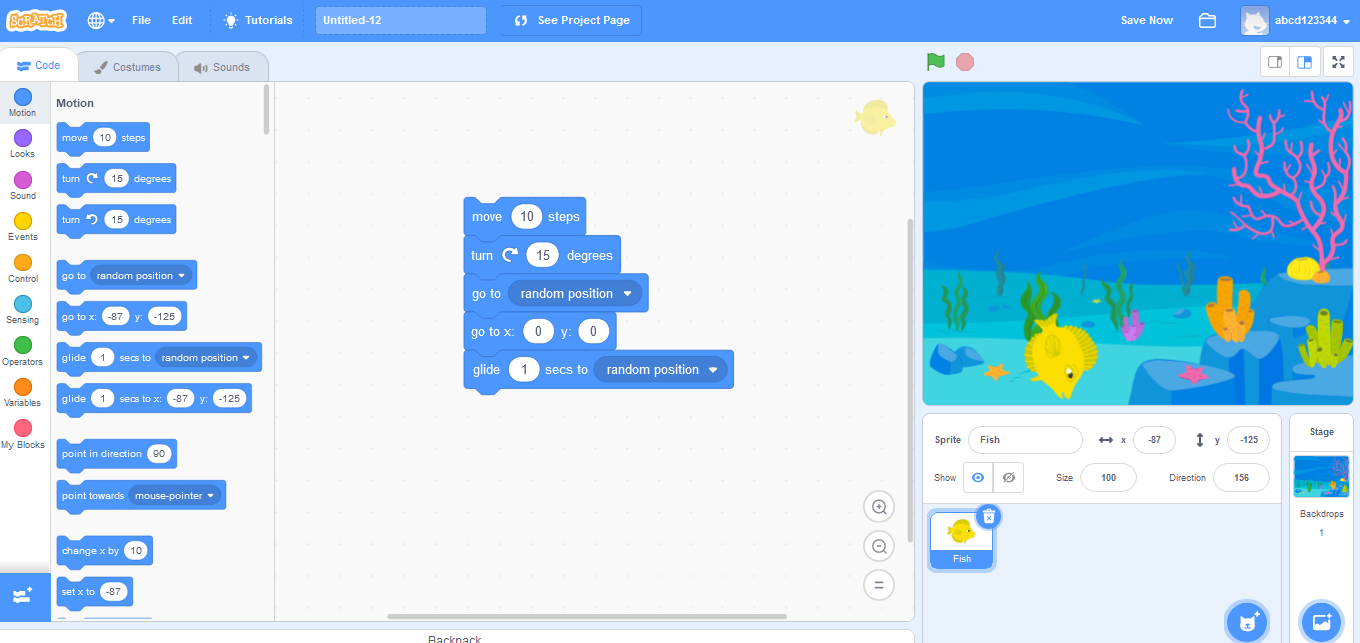
Arun- Raj now you tell what ![]() block will do?
block will do?
Raj- I can tell exactly after placing this block in our previous script.
Arun- Don’t forget to remove the previous block we used. Otherwise, you will not be able to see its working properly.
Raj- Ok!

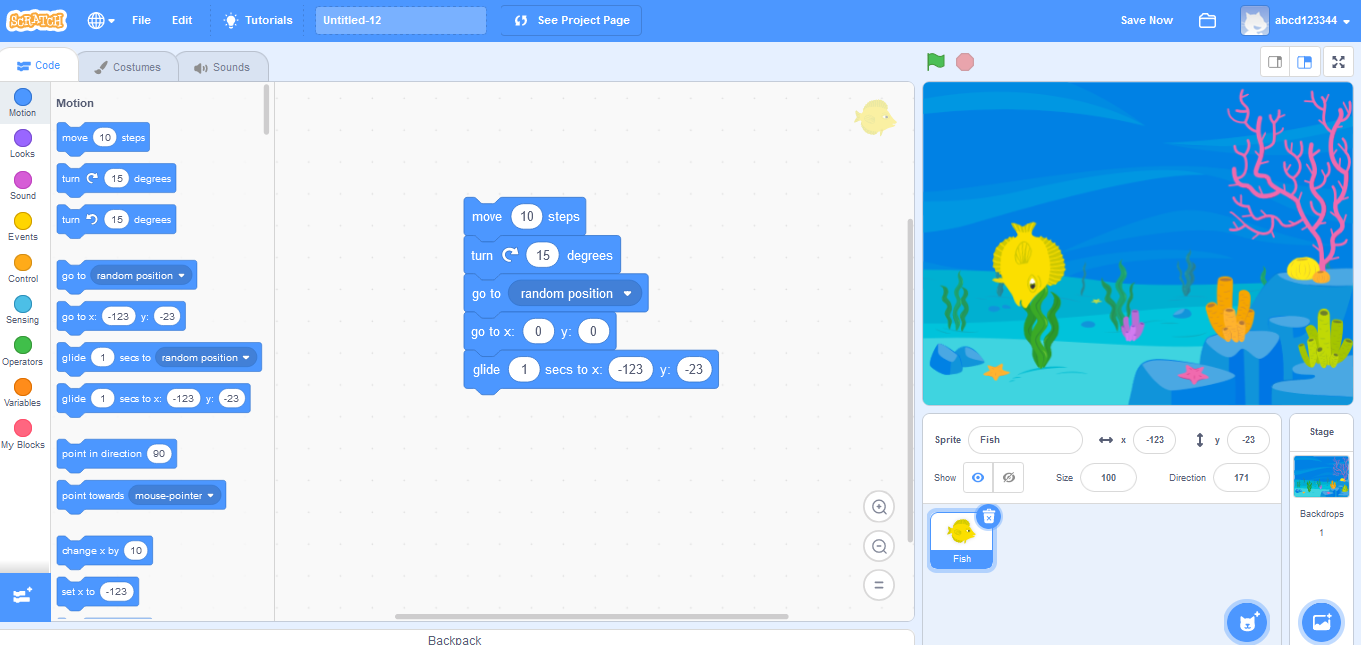
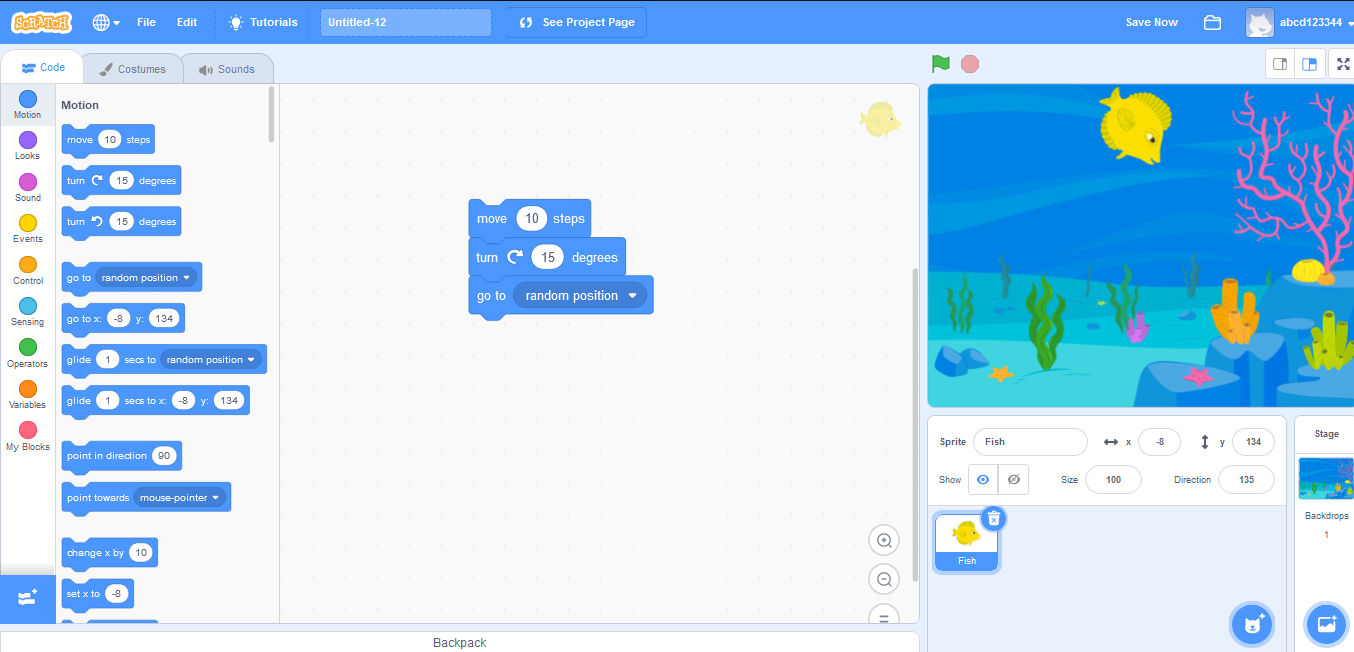
Arun- Now see the fish is gliding to your mentioned position.
Raj- This is getting very interesting.
Arun- Let’s move forward.
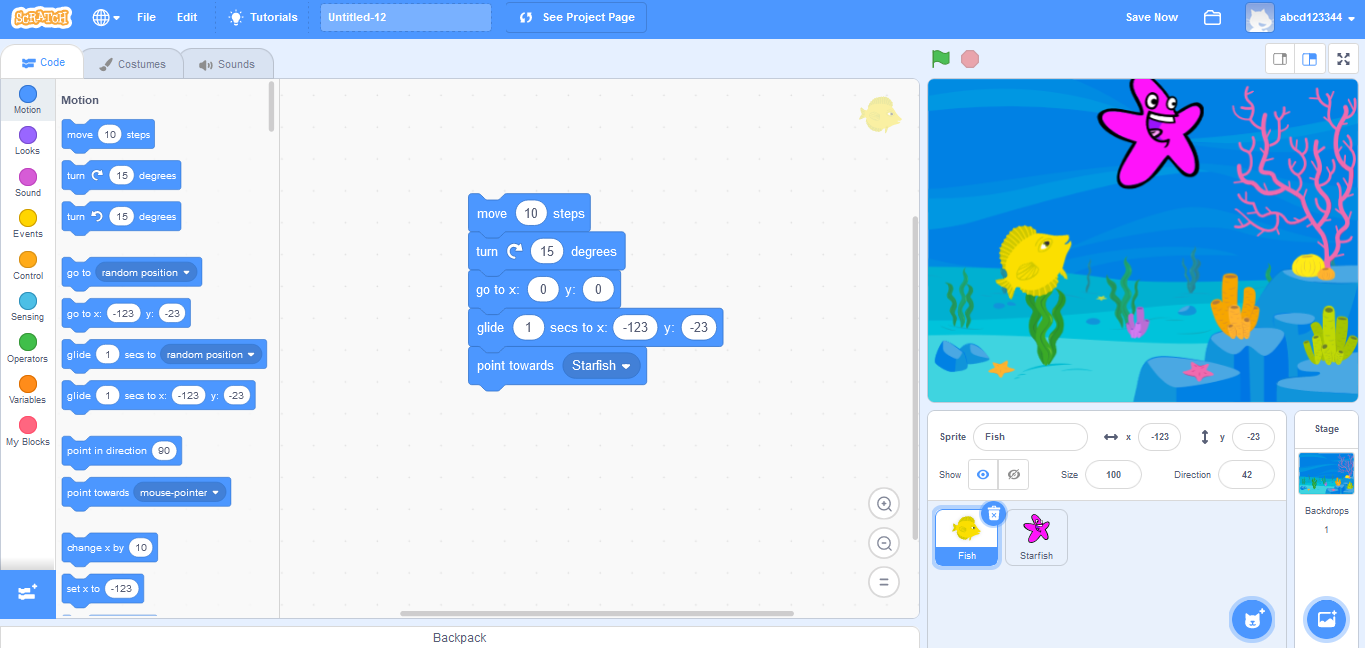
Now ![]() block, when you will place this block in your script then you will see after following instructions in your code the fish points towards 90° direction.
block, when you will place this block in your script then you will see after following instructions in your code the fish points towards 90° direction.
Raj- Oh! This means during the whole project the sprite can move anywhere but at the last it will point to given direction.
Arun- I think now you are learning how to use these blocks.
Raj- Yes! Now tell me about next block
Arun- Okay!
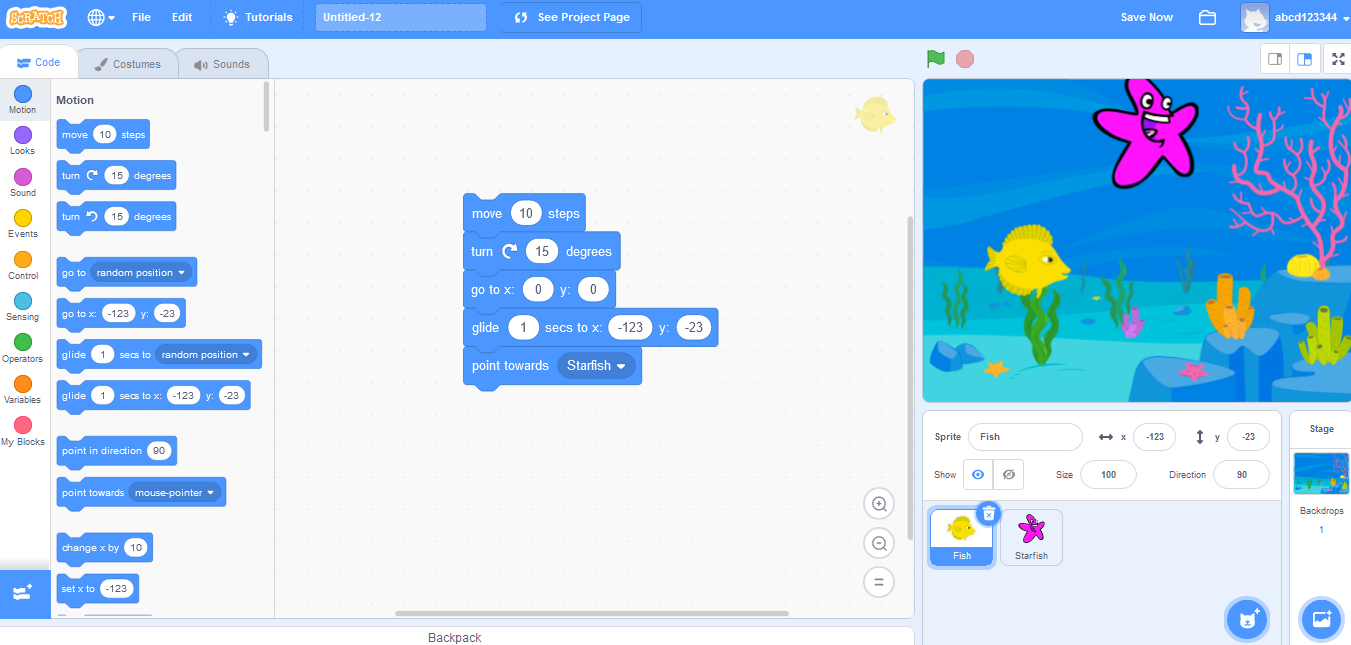
Next is ![]() block. For this you have to add another sprite to our project. You can also point towards the mouse pointer but to show its working clearly. I am pointing this to another sprite.
block. For this you have to add another sprite to our project. You can also point towards the mouse pointer but to show its working clearly. I am pointing this to another sprite.
Raj- when I add another sprite, my code was not present there.
Arun- Don’t worry Raj, your code is safe and stored in first sprites scripting area.
Every sprite needs to have their own script to perform any task.
Raj-Okay!
Raj- With these blocks we can make our project interesting and interactive.
Arun – Yes! Raj you are right but there are some more blocks to learn like  block. Let’s place it under our script.
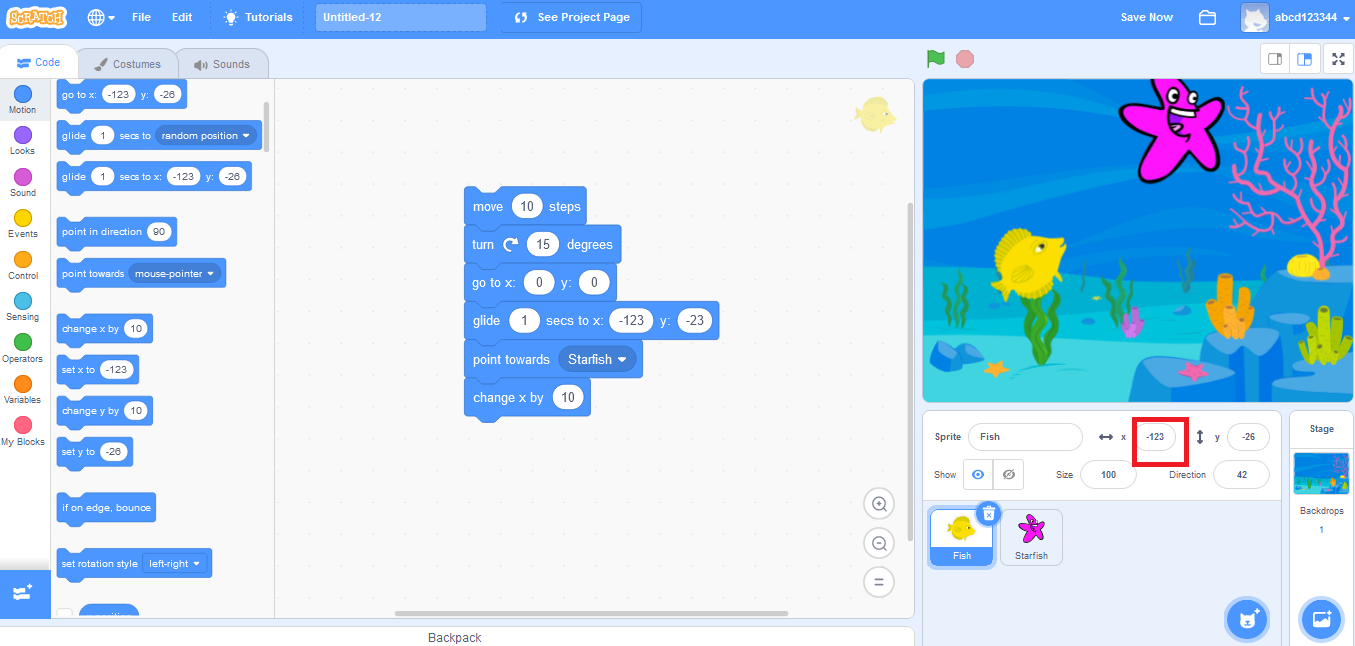
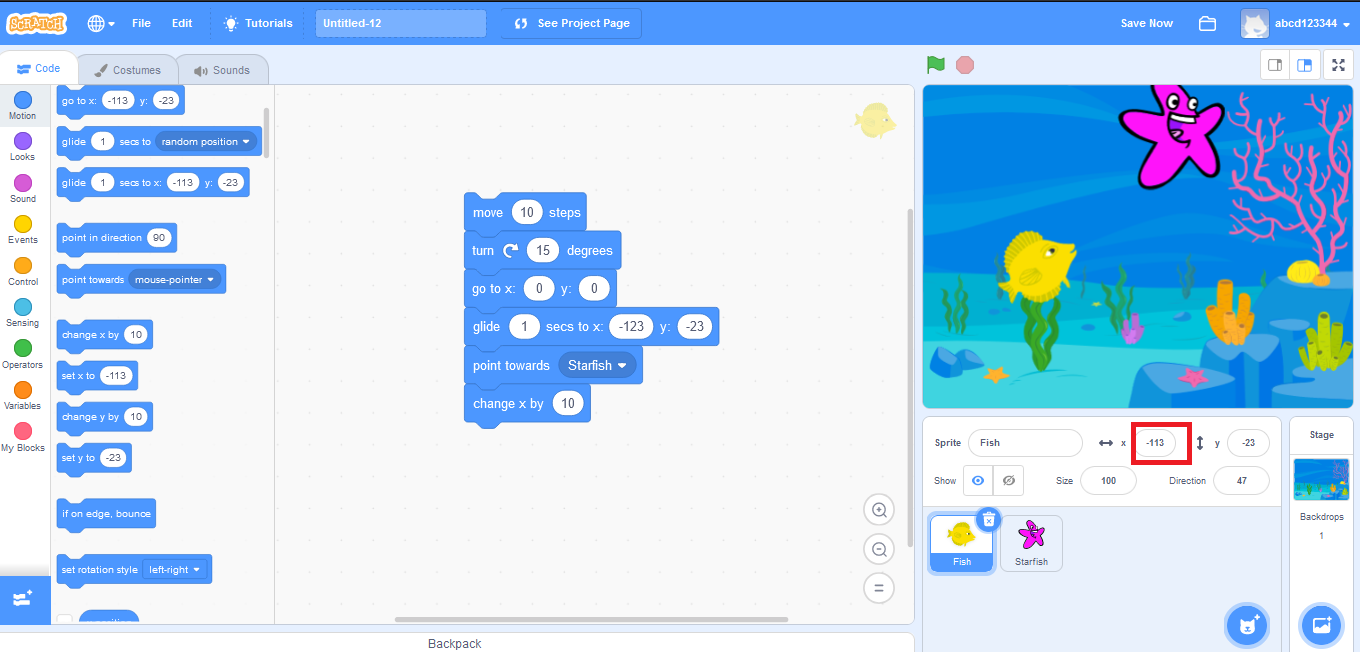
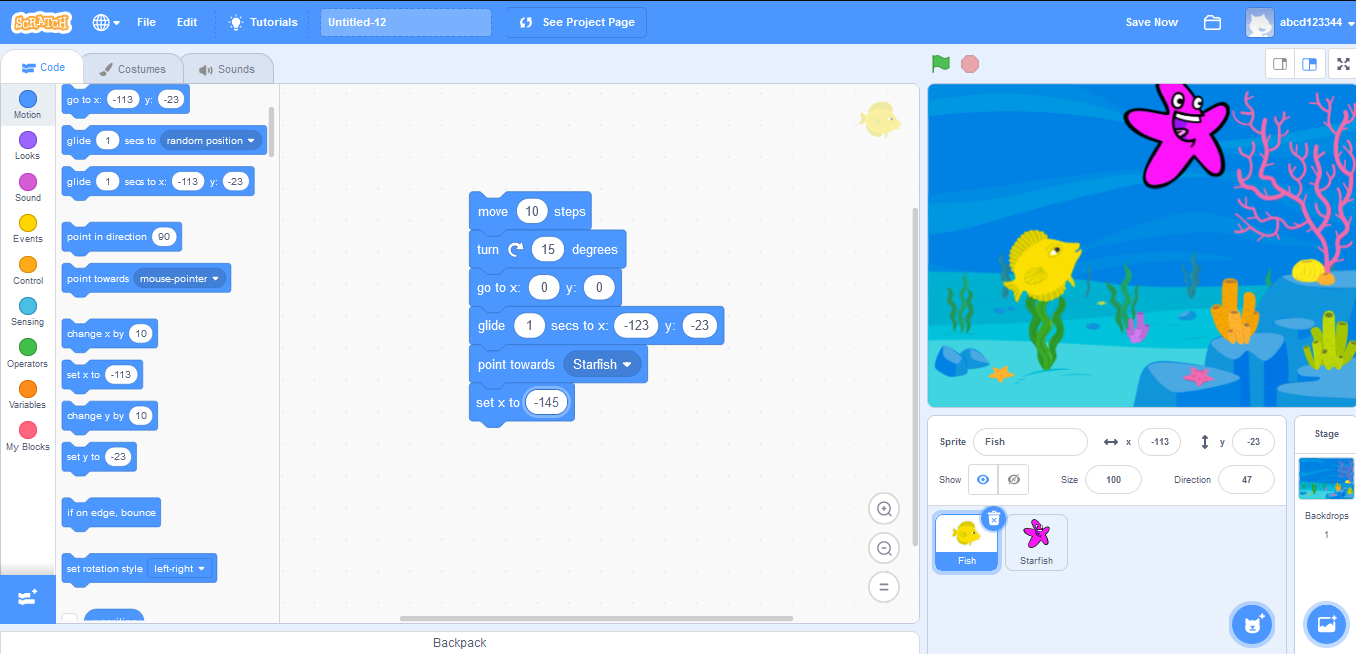
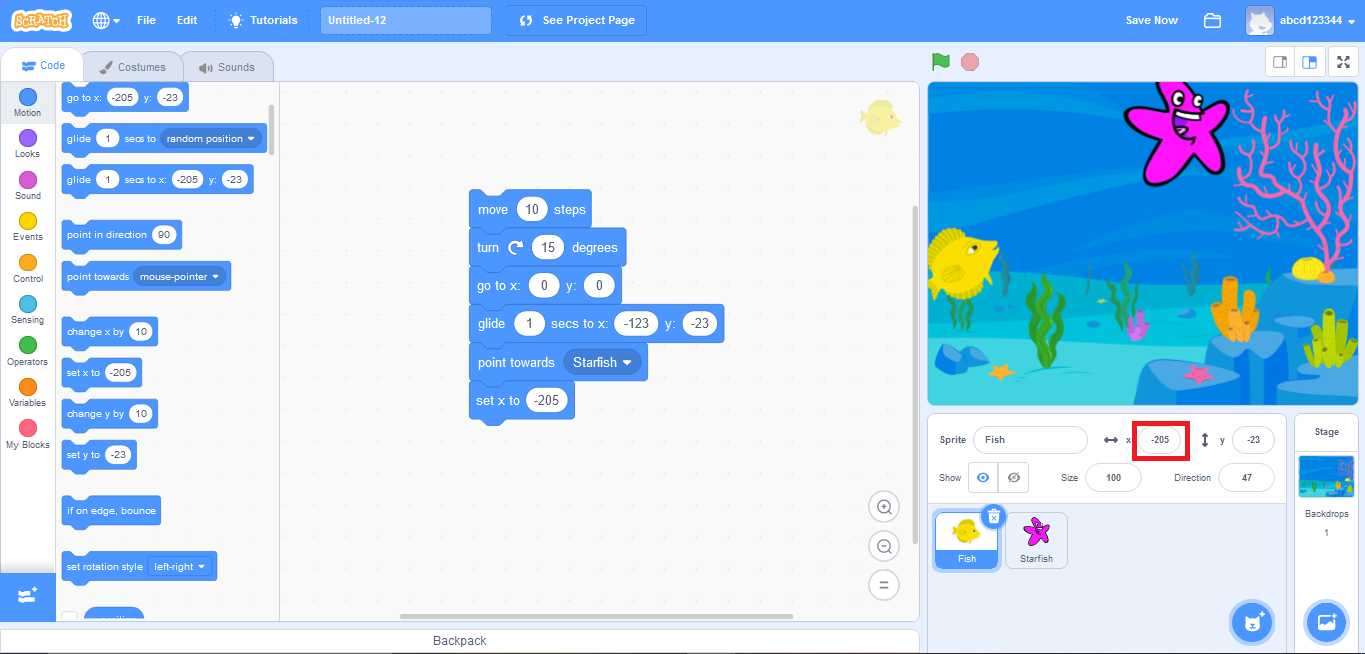
Arun – Yes! But if you have to set a particular value of x coordinate then use![]() block. Just drag out this block and place it under the script but remember to remove the previous block we used.
block. Just drag out this block and place it under the script but remember to remove the previous block we used.
Arun- Take ![]() block and place it under your code.
block and place it under your code.
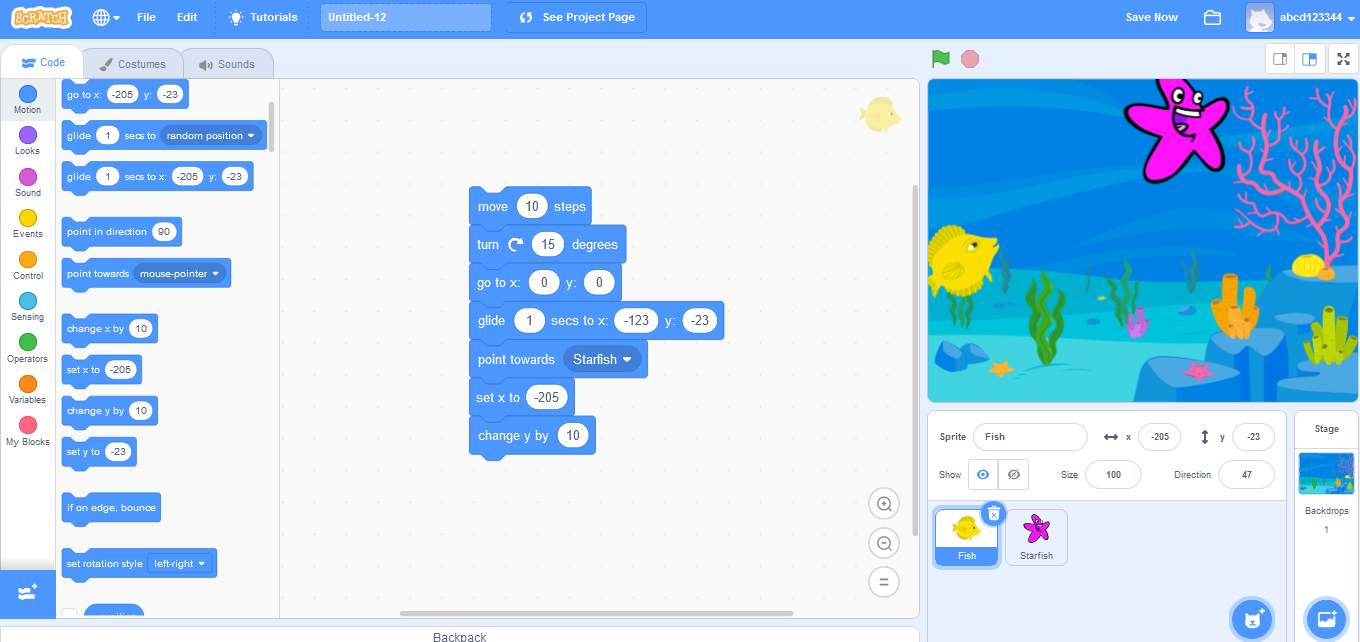

Raj- Yes! It will change every time on clicking.
Arun- To let this value to be some fixed value we will use ![]() block.
block.
Place it similarly as we done with x coordinate block.
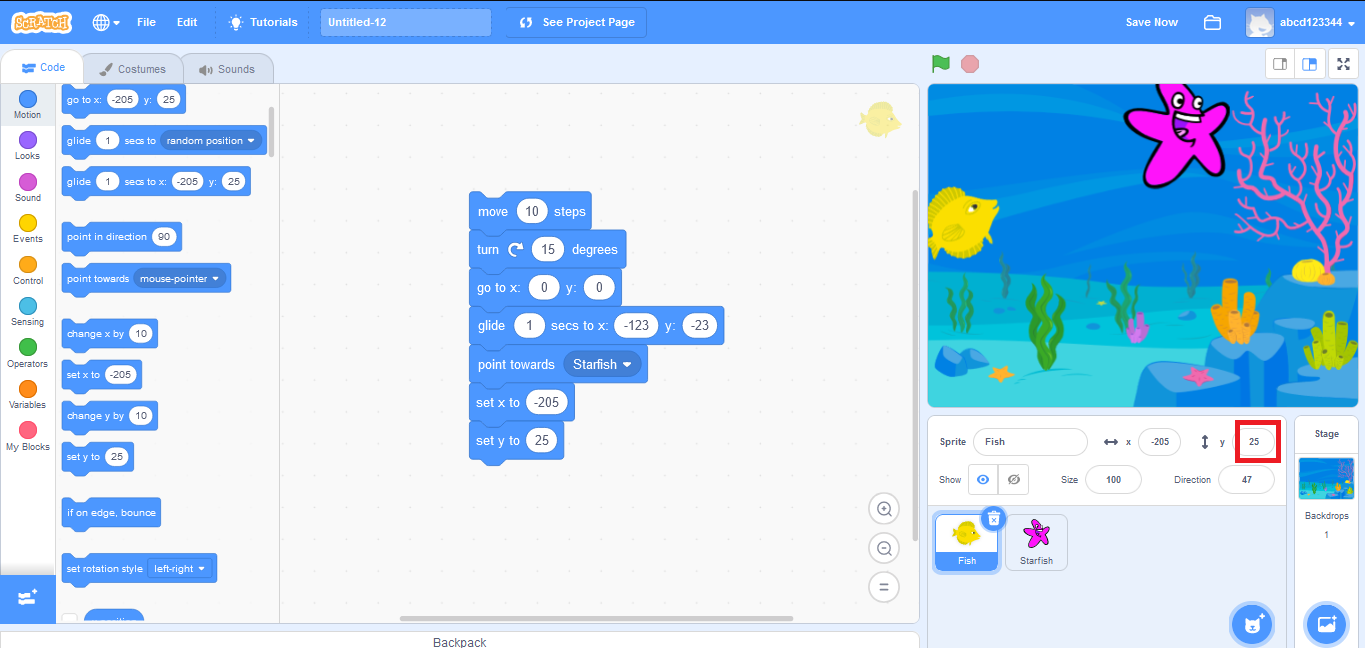
Raj- These blocks are really helpful to adjust the position of sprite.
Arun- Yes Raj! There are some other blocks which can help to make our sprite to be seen on stage only.
Raj- How?
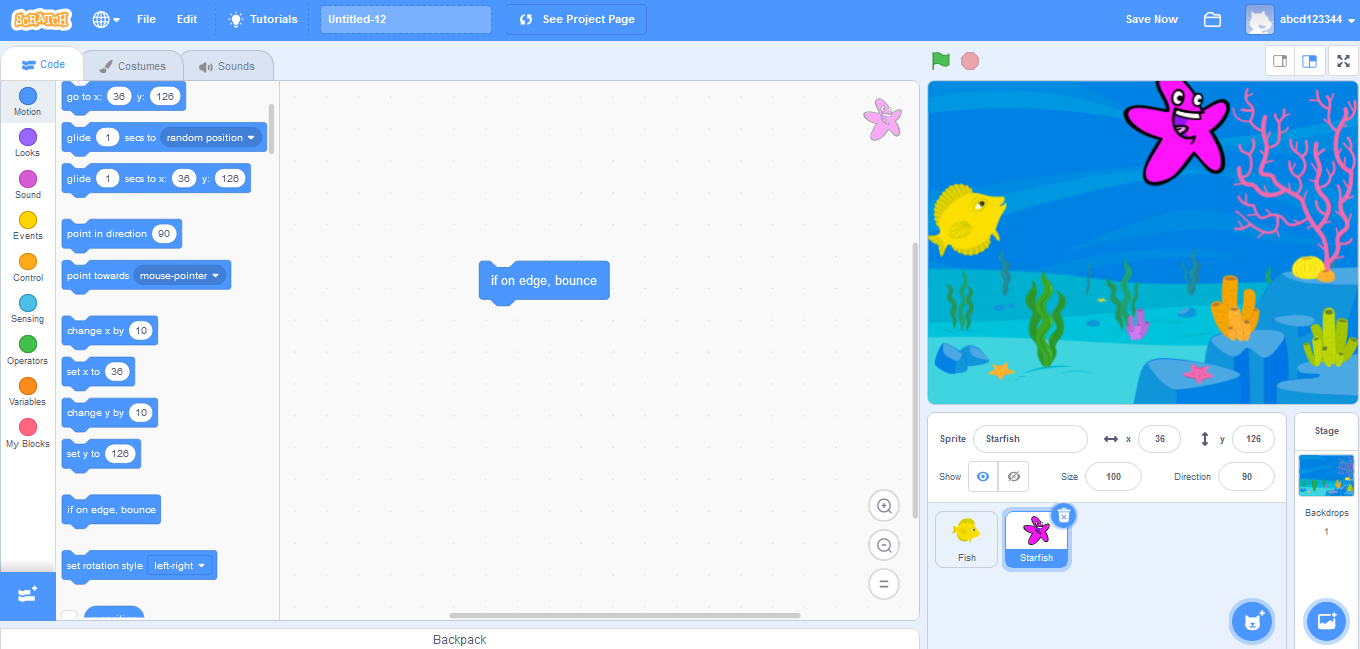
Arun- This ![]() block helps the sprite to flip its direction whenever touches the edge.
block helps the sprite to flip its direction whenever touches the edge.
Raj- Can u show me?
Arun- Why not! Open scripting area of our another sprite , Starfish. Drag the ![]() block and place it on the programming area.
block and place it on the programming area.

Raj – What for these ![]() ,
, ![]() and
and ![]() blocks are used.
blocks are used.
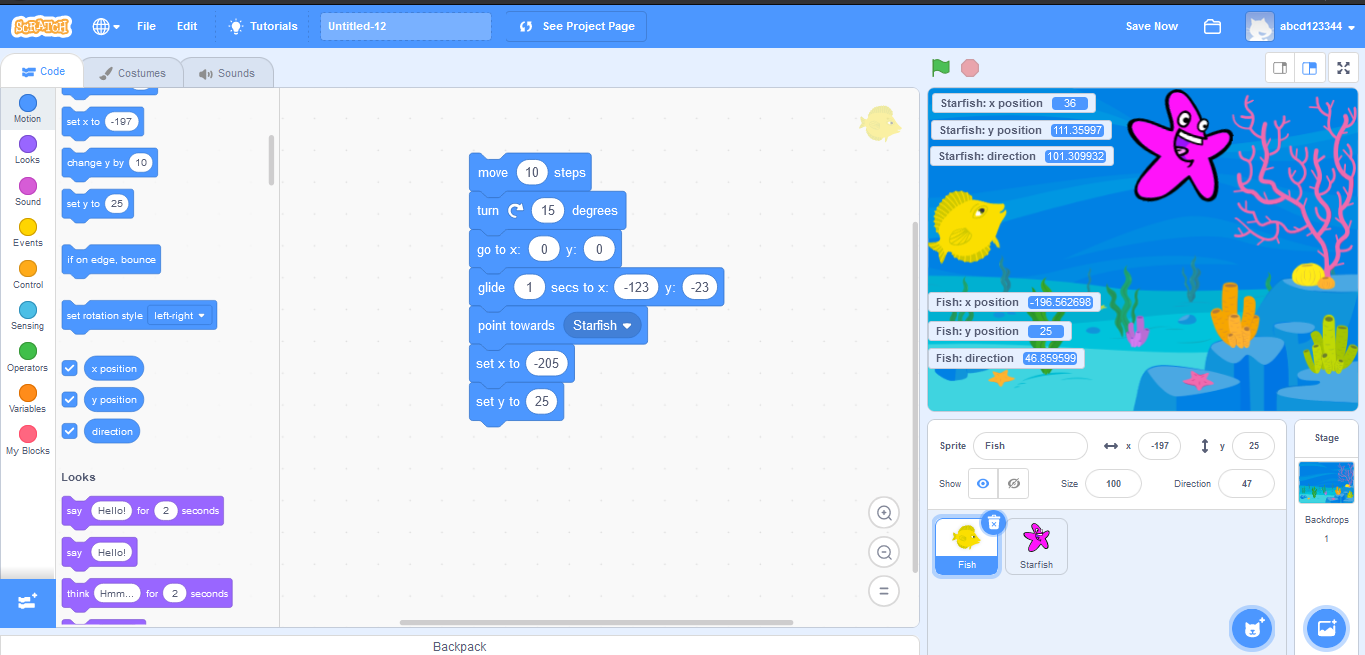
Arun- For that, just click on the check boxes in front of these blocks.
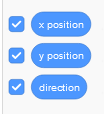
Arun- On clicking, you will see the x position, y position and direction of your sprite will be displayed on the stage.
Raj- This will let us know about the exact location of the sprite.
Arun- You are right.